
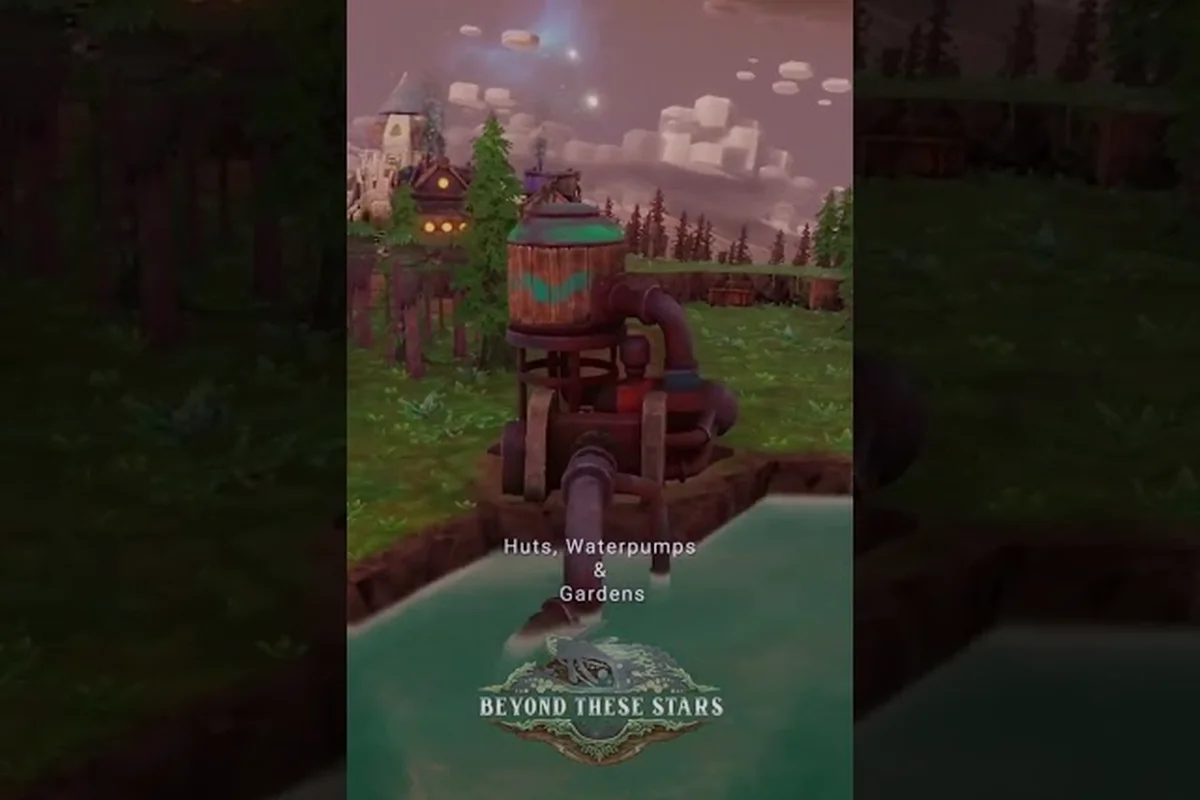
A thoughtful city layout in Beyond These Stars is the single biggest lever you have for keeping Kewa happy and your Peeps productive. The grid is small, the back of a Space Whale is unforgiving, and every tile you waste becomes a longer walk for a worker who is already tired. This layout guide walks through how adjacency, travel time, and building placement interact on Kewa, so every Kitchen, Pasture, and Weaver you drop earns its footprint. For players working through their first settlement, the broader context in the city building primer pairs well with the planning depth covered here.
According to the the official Steam page, the city layout expands organically as your settlement grows, with new building slots and districts unlocking based on population milestones and resource production levels.
Why City Layout Matters on the Back of a Space Whale
In Beyond These Stars, your city is not a static grid pinned to a continent — it rides on Kewa, a sentient Space Whale who carries your Peeps between star systems. That single fact changes how the layout game works. There is no map edge to sprawl into, no neighbouring city to absorb your overflow, and no second chance to flatten a hill you paved over by accident. Every structure has to justify its tile, and every cluster of buildings has to be reachable before a Peep's energy pool runs dry.
The game tracks three layout-driven variables that the developer has confirmed but has not published as exact numbers: adjacency efficiency, travel time, and biome health. Together, those three determine whether your settlement hums along or spends every shift in Mourning. According to the official site, Balancing Monkey Games treats the grid as a living system, not a sandbox for free-form decoration.
| Layout Lever | What It Affects | How the Player Feels It | Source |
|---|---|---|---|
| Adjacency bonuses | Output per building per shift | A Kitchen next to a Pasture outperforms an isolated one | Official Steam page |
| Travel time | Worker energy spent walking | Long paths mean fewer tasks completed per shift | Dev Blog #25 |
| Biome health | Pollution and atmosphere | Forests and rivers soften harsh tiles | Dev Blog #29 |
| Elevation / bridges | Reach across cliffs | Workers cross via Bridges and Elevators when terrain blocks the path | Official Beginner Guide |
A practical first step is to picture the grid as a set of rings rather than a blank canvas. The inner ring belongs to buildings that every Peep needs every shift — kitchens, the Home Spaceship, the Apothecary. The middle ring is for production clusters that feed the inner ring. The outer ring is for resource extractors, pastures, and outposts that you are happy to walk a little further to reach. That mental model is what makes a Beyond These Stars city layout feel intentional rather than reactive.
The Three Pressures Acting on Your Grid
Layout in this game is shaped by three competing pressures. Throughput pulls production buildings close to one another so adjacency bonuses stack. Comfort pulls workers' housing near Gardens and decorations so happiness stays above the celebration threshold documented in Dev Blog #22. Resilience pulls risk-prone buildings — the Burner, the Cleaner, the Trawler — away from the Apothecary and housing so a fire or a pollution spike does not cascade into Mourning.
The third pressure is the easiest to neglect on a first settlement. A Burner set up to consume Wood, for example, will raise local pollution if dropped next to housing; the developer has confirmed in Dev Blog #29 that Pollution and biome health are tied, even though the precise formula is not published. Treating the grid as a single throughput problem is how new players end up with a settlement that produces a lot but stops celebrating.
How Adjacency Works in Beyond These Stars
Adjacency is the silent engine of a strong settlement. Place two compatible buildings next to each other and both produce more per shift; place them awkwardly and the bonus disappears. The exact bonus numbers are not published — the developer treats them as part of the "feel" tuning — but the qualitative rules are clear from the official Beginner Guide and Dev Blog #25.
Building Categories That Stack Together
Not every neighbour helps. The grid rewards clusters where the output of one building is the input of another, and where the by-products of one can be absorbed cleanly by another nearby. The table below captures the verified adjacencies you can plan around today.
| Production Building | Best Adjacent Partner | Why They Stack | Verified By |
|---|---|---|---|
| Pasture | Kitchen, Weaver | Wool feeds Tailor; animal byproducts route to Kitchen | Official site |
| Kitchen | Pasture, Composting | Food Waste routes to Compost; meals return to Peeps | Beginner Guide |
| Weaver | Tailor | Fabric conversion chains into the next building | Steam page |
| Trawler | Composting, Kitchen | Shell byproducts feed other production loops | Dev Blog #22 |
| Tree Nursery | Cleaner | Tree cover softens Cleaner pollution locally | Dev Blog #29 |
| Burner | Composting, industrial outers | Wood Waste and pollution stay away from housing | Dev Blog #25 |
The table is a starting point, not a complete list. The developer has hinted at more adjacency pairs being added in post-launch patches, so treat the categories above as the confirmed scaffolding and let your own playtest fill in the gaps.
The 3×3 Rule for Stacking Bonuses
Most adjacency bonuses decay with distance. A useful rule of thumb — observed in community testing reported by players in launch-week threads, though not officially confirmed — is the 3×3 rule: a building's adjacency bonus typically reaches full strength when the partner sits within a 3×3 tile window. Beyond that, the bonus tapers, and beyond roughly five tiles of separation it tends to disappear. Because Beyond These Stars is a young title, that radius is a planning heuristic, not a published formula.
For practical planning, draw a 3×3 box around every production building before placing it. If the box contains at least one compatible neighbour, the bonus is likely live. If the box is empty, the building is paying full tile rent for output it could have earned more cheaply. Running that check during the placement pass is the fastest way to convert a scattered starter base into a true city.
Common Adjacency Mistakes on a First Settlement
Two errors show up over and over in launch-day screenshots: the long row and the island cluster. The long row places every building in a single line, which looks tidy but breaks adjacency because neighbours are spaced too far apart. The island cluster packs production tightly but leaves housing across the grid, so workers spend their shift walking instead of working. Neither shape is fatal, but both cost you output and energy for no design reason.
A safer starter shape is the L-cluster: a production spine running along one edge of your buildable area, with housing tucked into the inside corner of the L. The spine keeps adjacency bonuses live because compatible buildings sit one tile apart, and the inside corner shortens the walk from home to work, which keeps the energy bar from emptying mid-shift.
Travel Time, Workers, and the Energy Budget
Travel time is the other half of layout, and it is where Beyond These Stars separates itself from a typical city builder. Peeps do not teleport; they walk, and walking spends energy. Once a Peep's energy pool empties, they return to their hut to rest, which is shift time the settlement does not get back. The developer has confirmed the energy mechanic in Dev Blog #25 but has not published the exact recovery rate, so planning has to work with shape, not numbers.
Where Travel Time Hurts Most
The settlements that suffer the most are the ones with production buildings on the far side of the map and housing clustered around the Home Spaceship. Each worker starts a shift with finite energy, and every extra tile between bed and bench is energy they will not spend on the next task. According to the official Beginner Guide, bridges and elevators exist precisely to flatten the worst walk distances, but they do not eliminate them.
| Building Pair | Typical Walk | Layout Lever That Helps | Source |
|---|---|---|---|
| Home Spaceship → Kitchen | Short | Keep both in the inner ring | Beginner Guide |
| Kitchen → Pasture | Medium | Stack in 3×3 windows | Dev Blog #25 |
| Pasture → Trawler | Long | Route via Bridges, not around cliffs | Beginner Guide |
| Trawler → Space Port | Long | Build Space Port near shoreline | Dev Blog #28 |
| Any building → Apothecary | Variable | Place Apothecary centrally | Dev Blog #25 |
The pair at the bottom is worth flagging: the Apothecary has to be reachable from every other building, because sick Peeps head there as a priority. Centring it cuts the average walk for the most urgent trips and is one of the cheapest layout decisions you can make.
Bridges, Elevators, and Terrain Shortcuts
Terrain is the silent multiplier on travel time. A settlement built on a flat shelf is easier to lay out than one carved into cliffs, but cliffs also create opportunities: bridges and elevators flatten the worst walks, and the official Beginner Guide encourages players to use terrain features rather than fight them. The broader discussion of bridge and elevator placement lives in the burner generator coverage, which also walks through the early-game power puzzle.
A practical placement rule is to drop Bridges at the shortest natural crossing, not the most decorative one. A bridge that saves two tiles of walk is a layout win; a bridge that saves zero tiles is decoration. Elevators work the same way — they should collapse vertical distance, not add a scenic stop between two production buildings.
A Practical Placement Plan for Your First Settlement
Putting the rules together, a clean Beyond These Stars city layout follows a repeatable sequence. The plan below assumes a Story Mode start on Kewa, with the developer-recommended first-time experience in mind. The inner ring is built first because it earns its keep from shift one. Start with the Home Spaceship at a defensible central point — high ground, near water, away from cliff edges. The Home Spaceship is the only confirmed early-game source of starter Peeps, and its placement is something the Home Spaceship guide covers in depth. Once the Home Spaceship is placed, drop the Apothecary within walking distance and reserve a tile for a future Fairground, which is where Celebrations happen per Dev Blog #22.
Phase 1: The Inner Ring (Shifts 1–10)
| Shift Range | Inner-Ring Build | Layout Reason |
|---|---|---|
| 1–3 | Home Spaceship | Anchor tile, spawns starter Peeps |
| 3–5 | Apothecary | Central for fast sick-Peep walks |
| 5–7 | Kitchen + Pasture pair | First adjacency stack |
| 7–10 | Composting + 2 Huts | Completes the food/waste loop |
Phase 2: The Middle Ring (Shifts 11–25)
The middle ring is where throughput compounds. Add the Weaver and Tailor so fabric production runs on a closed loop, and place the Tree Nursery upwind of the Cleaner so tree cover absorbs the worst of the local pollution. The Cleaner itself is a middle-ring building because it needs Water and Chemicals, both of which are easier to deliver when the supply chain is short.
A useful sanity check at the end of Phase 2 is the 2-tile test: every Peep should be able to walk from their hut to the building they use most in under the energy cost of two tiles. If any building fails the test, move it before adding the next cluster — the cost of relocating rises sharply once Phase 3 begins.
Phase 3: The Outer Ring and the First Space Port (Shifts 26+)
The outer ring is for resource extraction and inter-planet logistics. Drop the Trawler near the shoreline so Shell can move quickly to the Space Port, and place the Space Port itself on flat ground with room for at least two Landing Pads, since each Space Port can hold up to four pads according to Dev Blog #28. The broader logistics conversation — including how the Settlement Ship fits into your layout — sits in the outposts coverage, which also covers the population and trade systems that your outer ring eventually feeds.
At this stage, layout decisions start to feel like chess moves rather than tile painting. A Trawler placed too far from the Space Port means a Trade Ship waits for cargo; a Tree Nursery placed too close to the Trawler means trees grow in soil you would rather use for crops. Thea 3×3 rule still applies, but you are also weighing elevation, water access, and Pollution flow at the same time.
Reading the Grid Like a Pro: Debugging a Bad Layout
Even with a careful plan, most settlements reach a point where output stalls or Peeps stay perpetually tired. A bad layout is usually one of three failure modes: a stranded production cluster, a pollution choke point, or a walk bottleneck at a single bridge or elevator.
| Symptom | Likely Cause | Quick Diagnostic | Fix |
|---|---|---|---|
| Output per shift drops | Stranded production cluster | No 3×3 neighbour for the underperformer | Move building one tile at a time |
| Frequent sickness | Pollution choke point | Burner/Cleaner too close to housing | Shift risk buildings downwind |
| Peeps idle mid-shift | Walk bottleneck | Single bridge between rings | Add a second bridge or elevator |
| Celebrations never fire | Happiness below threshold | Decorations and Gardens missing | Place a Garden near the Fairground |
| Resources not exporting | Space Port at grid edge | Pads face wrong way | Reorient Space Port toward trade route |
A useful diagnostic habit is to pause and watch three Peeps for a full shift. Their actual path through the grid tells you more about layout health than any number on a stats screen. If two of them walk past a closed building to reach a farther one, the closed building is misplaced, not underused.
When to Tear It Down and Rebuild
There is a moment in every playthrough where the right answer is to demolish a few buildings and rebuild them in a smarter spot. The temptation to keep going is strong, but a small rebuild pays for itself within a few shifts. A simple heuristic: if a building has not produced for two shifts in a row and its 3×3 box contains no compatible neighbour, demolish and replant. The lost output is smaller than the cost of leaving it stranded for another ten shifts.
Layout repair is also the right time to commit to a named zone system. A practical convention used by experienced players is to label zones — Inner, Middle, Outer, Trade — even though the in-game journal does not require it. The labels live on a notepad, not in the grid, but they make every later placement decision faster because the zone for each new building is already decided.
Frequently Asked Questions
What is the single most important layout rule in Beyond These Stars?
The most important rule is to keep compatible production buildings within a 3×3 tile window so adjacency bonuses stay live. According to the official Beginner Guide, output scales with neighbour placement, and a single isolated building will underperform its clustered twin every shift. Treat the inner ring as housing-and-care, the middle ring as production, and the outer ring as extraction and trade.
How does adjacency actually work in Beyond These Stars?
Adjacency bonuses are a layout-driven output modifier that the developer has confirmed but has not published as a numeric formula. Two compatible buildings placed near each other both produce more per shift, while distant buildings lose the bonus. The simplest way to plan around it is to draw a 3×3 box around each production building and confirm that at least one compatible neighbour sits inside.
What is the best way to reduce travel time in my settlement?
Centring the Apothecary, keeping the Home Spaceship and Kitchen in the inner ring, and using Bridges and Elevators at the shortest natural crossings all cut travel time. According to Dev Blog #25, walking spends Peep energy, so every saved tile is energy returned to production. The 2-tile test — any Peep reaches their most-used building within two tiles of walking — is a fast way to audit a busy settlement.
Where should I place the Space Port and Landing Pads?
Place the Space Port on flat, open ground near the shoreline, with room for up to four Landing Pads because each Space Port supports that maximum per Dev Blog #28. Position it so Trade Ships have a clear approach path, and keep it close to the Trawler and any outer-ring production so cargo does not spend the whole shift in transit. If you are still building the first port, the best buildings primer covers the wider placement logic.
Can I fix a bad layout without tearing the whole settlement down?
Yes, in most cases. Diagnose the failure mode first — stranded cluster, pollution choke, or walk bottleneck — then move one building at a time and recheck the 3×3 rule and the 2-tile test after each move. According to community testing reported by players in launch-week threads, two or three targeted moves usually recover most of the lost output, while a full rebuild is only worth it once the underlying shape is wrong.