
City Building
Plan districts along the contours of Kewa: adjacency bonuses, travel time, power coverage ranges, housing, bridges, elevators and the decoration tricks that keep Peeps content.
Introduction
Building on Kewa is a negotiation with someone else’s shoulders. The plate is not a convenient flat grid: it has contours, slopes and a finite surface, and the buildings you place on it consume land you can only recover by terraforming. Two rules shape almost every layout decision. The first is adjacency — putting the right buildings next to each other produces bonuses, so a compact district with the correct neighbours outperforms the same buildings scattered across open ground. The second is travel time, because your Peeps walk between the places they live, work and eat, and every extra tile of distance is working time taken out of the day. Power works the same way: a Power Generator draws its coverage range when you select it, so a generator placed for aesthetics rather than coverage leaves buildings dark. Get those three ideas right and the rest of the city is bookkeeping; get them wrong and you will spend the mid game demolishing a settlement you were proud of.
Core Building Quick Reference
| Building | Purpose | Stage | Placement Note |
|---|---|---|---|
| Home Spaceship | Produces the basics your first Peeps need while the real economy is being built | Start | Your initial anchor; everything early radiates from it |
| Hut | Housing, and the simplest way to keep happiness from bleeding away | Start | One bed per Peep matters before any production does |
| Garden | Early food production close to where Peeps actually live | Start | Short walking distance to housing cuts wasted shift time |
| Water Pump | Supplies water to the settlement | Start | Place near housing and gardens, not on the industrial edge |
| Storage Shed | Buffers resources between production stages | Early | One buffer per chain stage reveals bottlenecks earlier than one big store |
| Power Generator | Supplies power in a visible coverage range | Early | Select it and read the range line before you commit the placement |
| Burner | Burns wood as fuel for early heat and processing | Early | Keep it downwind of housing to limit pollution on residential tiles |
| Bridge | Crosses forest and water so a district is not split in two | Mid | Use it to shorten commutes rather than to reach new ground |
| Elevator | Moves Peeps between elevation levels | Mid | The answer to building on the whale’s steep contours |
Building Roles at a Glance
Home Spaceship
Starting anchor
Hut
Housing baseline
Power Generator
Coverage logistics
Storage Shed
Buffer and diagnosis
Bridge & Elevator
Terrain tools
Garden & Water Pump
Daily needs
Burner
Early fuel
Space Port & Ship Builder
Off-world bridge
Decoration & Beauty
Happiness shaping
Core Mechanics
The building layer runs on three spatial systems that interact constantly. Adjacency bonuses reward putting complementary buildings next to each other, which pushes toward compactness. Travel time punishes distance, which pushes toward the same compactness for a different reason. Power coverage is radial, which pushes toward clustering consumers into blocks a single generator can serve. Stack all three and the optimal shape of a settlement becomes obvious: tight multi-purpose districts, each one self-sufficient in power and food, connected to the next by short, walkable routes. What complicates it is terrain. Kewa’s back is not flat, so some of those districts sit at different elevations and need bridges or elevators to stay connected, and the plate is finite, so expansion eventually means reclaiming land through terraforming rather than simply building outward. Housing then becomes the pacing mechanism, because a growing population needs beds before it needs jobs, and unhappy Peeps without beds will stop working on the very buildings you are trying to finish.
Advantages
What the building system does unusually well is expose its own rules. The Power Generator draws its coverage range on selection, adjacency effects are visible in the layout rather than buried in a menu, and the terrain contours actually matter because bridges and elevators exist as answers to them. That means planning decisions are readable in advance rather than discovered by failure. The second advantage is that layout keeps paying off. Because adjacency, commute time and power coverage all reward the same compactness, a well-planned district compounds: fewer generators, shorter walks, fewer duplicate services, and more plate left for the next block. The third is that decorations are functional. Happiness from beauty feeds into output, so a settlement that looks organised is also measurably more productive, which is a rare bit of alignment between the aesthetic and the mechanical case for a design choice.
Challenges
The friction is front-loaded. Power coverage is the single most common point of confusion in the launch window, and the game does not hand you a requirements figure to plan against — you read the range line and learn by placing. Resource management menus carry a lot of small numbers, and reviewers in the first days explicitly asked for more streamlining there. There is also no direct way to assign a particular Peep to a particular job, so workforce problems often have to be solved with buildings and travel distances rather than by micromanagement. Finally the plate is finite and terraforming is the only way to extend it, which means a layout mistake made in the first hour is not merely inefficient — it can lock you into reclaiming ground you should have left alone, at the cost of the biome that keeps Kewa healthy.
Frequently Asked Questions
How does the power system actually work?+
What is the best city layout in Beyond These Stars?+
Can I terraform the land or am I stuck with the terrain?+
Why are my Peeps unhappy even though they have jobs?+
Quick Tips
Give every Peep a bed before you chase any output at all. Homeless Peeps drag happiness down and push the colony toward a strike, and a strike halts the production lines you just spent resources building. Housing is not the reward for a working economy, it is the precondition for one, and retro-fitting beds after the walkout has already cost you the output you were chasing.
Group power-hungry buildings into a compact block and give that block its own generator, rather than siting one generator to serve a scattered settlement. Coverage is radial, so a tight cluster converts a single generator into many powered buildings, while a sprawling layout silently leaves consumers outside the range line.
One storage buffer per production stage beats a single large warehouse at the end of the line. When a chain stalls, the buffer that empties first tells you exactly which input ran short, which turns an afternoon of guessing into a single glance at the layout rather than a tour of six buildings.
Use bridges and elevators to shorten commutes rather than to unlock new ground. The plate is finite either way, and a settlement that keeps housing, food and work within a short walk gets more effective labour out of every Peep than one that expands outward and quietly pays for the extra distance in travel time.
Site polluting industry away from the districts you plan to expand into later. Contamination and toxic tiles cost happiness immediately and occupy buildable ground permanently, so a placement decision made in the first hour can quietly remove a district you were counting on twenty hours later, and cleaning polluted ground costs more than siting it correctly in the first place.
Featured
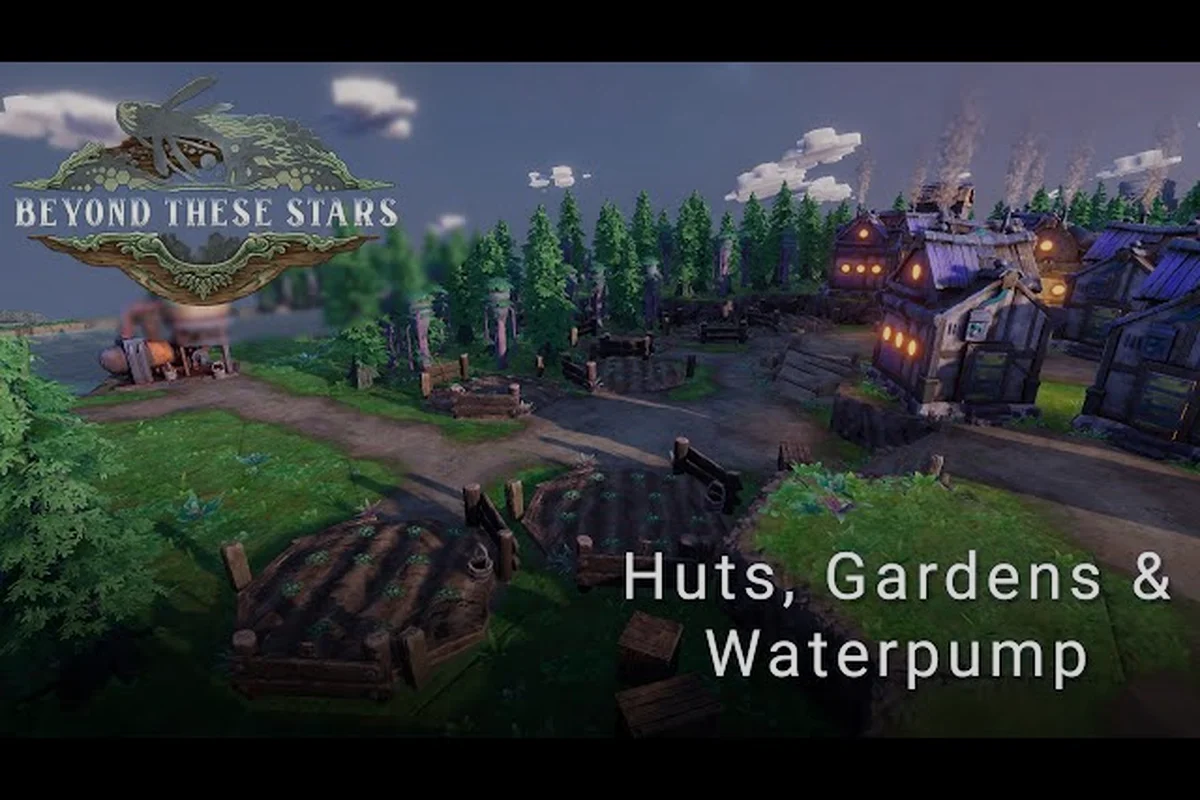
Beyond These Stars City Building: Your First Base from Scratch
Master Beyond These Stars city building from the ground up — learn key buildings like the Home Spaceship, production basics, and what to construct first.
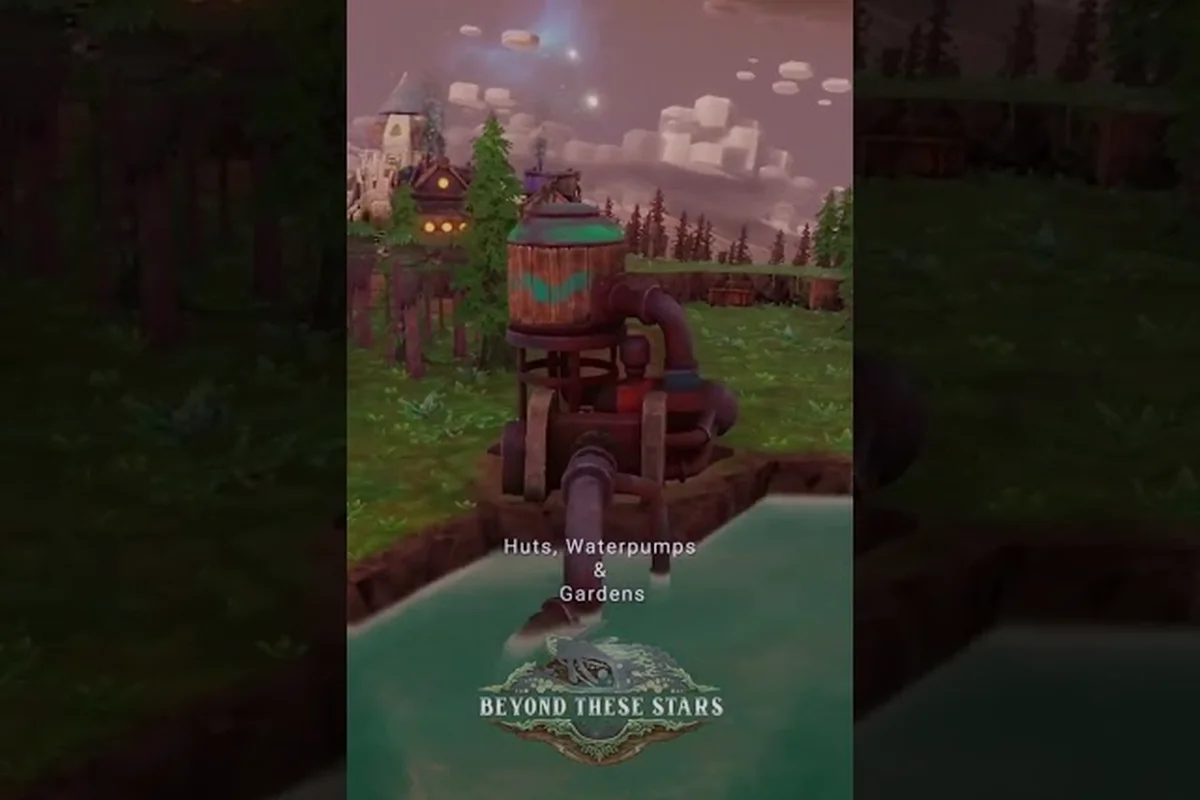
Beyond These Stars Best Buildings to Prioritize First
Find the beyond these stars best buildings to place first on Kewa, from starter Huts and Gardens to Bridges and Elevators that pay off over a long game.

Beyond These Stars Building List: Every Structure in 1.0
Browse the full Beyond These Stars building list from the 1.0 showcase and see what the Home Spaceship, Burner Generator, and every named structure actually do.
All Articles
Beyond These Stars City Layout: Adjacency Bonuses & Planning
Design the perfect Beyond These Stars city layout — master adjacency bonuses, cut travel time, and place every building for maximum efficiency.
Beyond These Stars Home Spaceship: What It Does & Unlocks
Learn what the Beyond These Stars Home Spaceship produces, how its storage shed works, and what to build first once your Peeps land on the whale.
Beyond These Stars Burner Generator: Power, Range & Placement
See how the Beyond These Stars Burner Generator powers your city, what its range covers, and where to place it for steady early growth.
Beyond These Stars How to Get More Peeps: Housing & Beauty
Learn beyond these stars how to get more Peeps with this population guide — discover what attracts new colonists and how housing and beauty keep them around.