
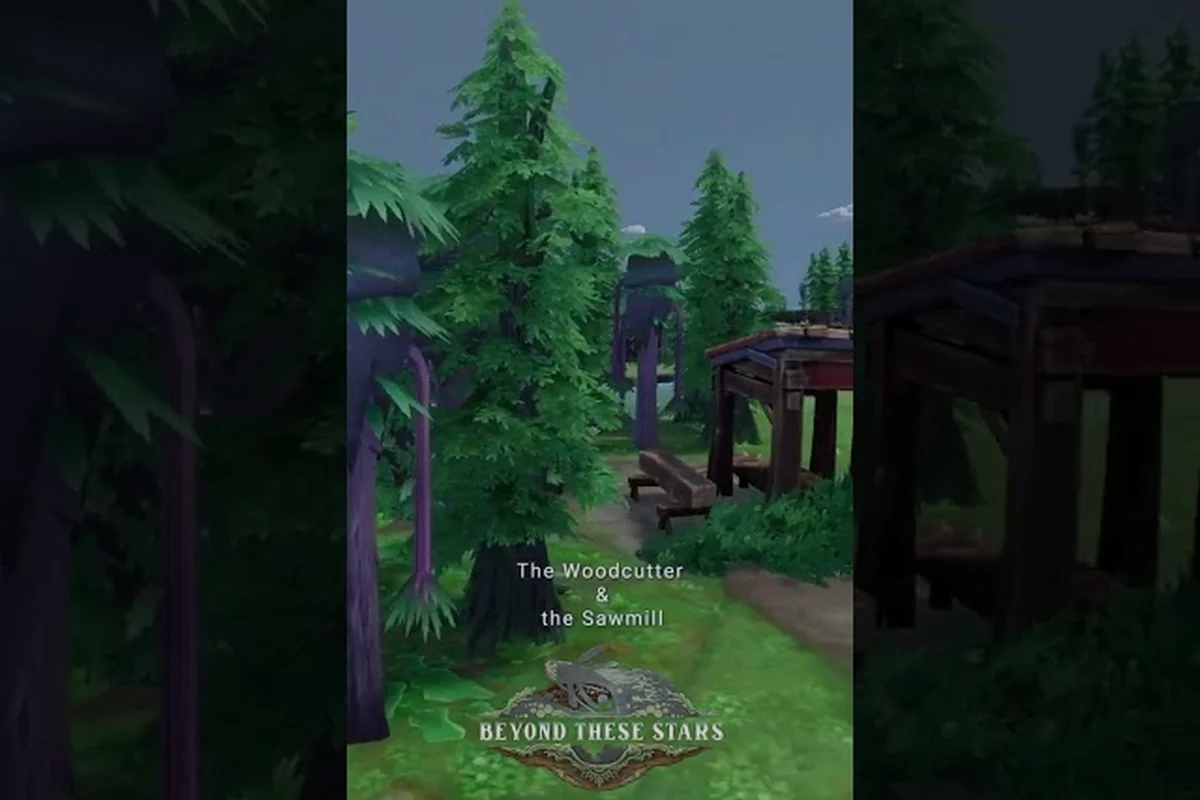
Beyond These Stars is a colony sim where every meal, fabric roll, and piece of advanced research flows through the hands of your Peeps, and a single misassigned worker can stall an entire production line. Throughput in this game is less about building more and more about routing the workforce you already have. This guide walks through worker priority, job assignment, and the food chain that keeps your settlement running without idle Peeps.
How Throughput Works in Beyond These Stars
Throughput is the rate at which raw inputs become finished outputs, and it is the heartbeat of any city builder. In Beyond These Stars, every action — chopping Wood, brewing soup, weaving Cotton, harvesting Shell — happens because a Peep walks to a building, performs a task, and walks to the next one. If your layout is wrong, your Peeps spend more time walking than working. If your worker priorities are wrong, your Kitchen starves while your Trawler fills storage with Shell that nothing needs.
Balancing Monkey Games has not published exact throughput formulas for Beyond These Stars, so the only way to reason about output is to combine the official Steam page and Dev Blog posts with your own in-game observation. What those sources confirm is that the simulation tracks several interconnected layers — labor (effective workers minus Children and Elders), shift energy curves, adjacency bonuses, strikes, celebrations, and the food chain — each of which multiplies into the next rather than acting as an independent toggle. The only reliable proxy for throughput is watching idle workstations, food waste at the Trawler or Kitchen, and Peeps standing around with full Energy bars.
-
Population: Children and Elders do not work, so effective labor is always lower than total population.
-
Shifts: Peeps alternate through shifts, and the start of a shift is when sickness risk rises as energy falls.
-
Adjacency bonuses: Building layout affects both efficiency and travel time.
-
Strikes and Celebrations: Striking Peeps block other Peeps, slowing them. Celebrations grant production, movement, and sickness bonuses when a location's happiness threshold is met.
The key insight is that Peep travel time is the hidden multiplier on every production chain. A well-fed, well-rested Peep with a short walk produces more over a shift than a starving Peep zig-zagging across Kewa's back. The game does not expose a single "throughput number" the way some automation games do; instead, it layers these systems so the player feels the bottleneck in idle buildings, in food waste, and in Peeps standing around.
| Layer | What It Controls | Common Symptom When Broken |
|---|---|---|
| Population | Available labor | Empty workstations, slow expansion |
| Shifts | Energy and sickness cycles | Waves of sick Peeps mid-shift |
| Adjacency | Efficiency and travel time | Peeps spending more time walking than working |
| Strikes | Blockages and slowdowns | Peeps holding signs, blocking paths |
| Celebrations | Bonus output and movement | Lost productivity windows after a high-happiness spike |
| Food chain | Energy recovery | Exhausted Peeps, lower shift output |
Treating these layers as a stack rather than independent toggles is the first step toward real throughput gains, because fixing only the surface symptom — say, adding more Foragers when Shell piles up — leaves the deeper labor, adjacency, and food-chain multipliers still dragging the chain. A practical exercise: log your idle workstations for one shift, then trace each idle Peep back to whether the cause is low effective labor (Children and Elders excluded), a long walk between the Trawler and the Kitchen, or a food shortage starving the next shift's Energy bar, and address the bottom layer first.
The Workers System and Job Priority
Every productive Peep needs a job, and every job belongs to a building. Assigning jobs in Beyond These Stars is the lever that decides which production chains get resources first when labor is scarce. The developer's own the Steam guides hub (linked from the release and Hotfix posts) covers the worker basics, but it does not prescribe a single priority system — that is left to the player.
Assigning Jobs by Building Type
Buildings fall into rough categories by how badly they stall the rest of the economy when starved of workers, and in Beyond These Stars this distinction matters because Peeps do not auto-redistribute between job types — once you assign them to a Trawler, they will not jump to the Kitchen even as food stockpiles collapse. The categories below reflect that hard priority, ranked by direct Peep wellbeing impact rather than by output value or throughput efficiency, so you can decide which buildings deserve your first trained workers.
-
Critical infrastructure: Pasture, Kitchen, Composting. If these stop, sickness rises, food piles up unprocessed, and the whole colony slows.
-
Resource extraction: Tree Nursery, Trawler, Burner. These feed the rest of the chain but do not directly affect Peep wellbeing.
-
Processing: Weaver, Tailor, Apothecary. These turn raw materials into useful goods but can idle without an immediate crisis.
-
Late-game unlocks: Spaceship Builder, Landing Pad infrastructure. Important for expansion, not for daily survival.
When in doubt, keep a Peep in each critical building before staffing anything else. A common mistake new players make is assigning almost every Peep to extraction early, which leaves the Kitchen empty and creates a food crisis that drags down the entire workforce.
How to Prioritize Workers During a Bottleneck
Bottlenecks usually announce themselves. The Kitchen runs out of soup, the Apothecary has no patients but the Cleaner is idle, the Weaver is full of Wool but the Tailor is empty. The fix is to read the symptom and reassign one or two Peeps rather than rebuild the whole chain.
| Symptom | Likely Cause | Worker Priority Fix |
|---|---|---|
| Peeps standing near Kitchen with no food | Kitchen understaffed or inputs missing | Move a Peep from a low-output building into the Kitchen |
| Food Waste piling up | Composting understaffed | Assign a Peep to Composting until the pile clears |
| Fabric stock growing, no Clothing | Tailor understaffed | Shift a Peep from the Weaver to the Tailor |
| Sickness spreading, Apothecary full | Cleaner or Apothecary understaffed | Add a Peep to whichever is queueing |
| Idle Trawler | Storage full or no Shell demand | Pause shell collection, route the Peep elsewhere |
The system rewards steady attention rather than micromanagement, and that principle pays off most visibly when a shift begins. As Dev Blog #25 noted, sickness chance climbs as Energy bottoms out in the first few in-game days, so a single missed reassignment during the dawn rush can cascade: one sick Weaver stalls Fabric, which starves the Tailor, which idles downstream buildings, snowballing across the workforce within a single shift.
Shifts, Strikes, and Worker Mood
Shifts are the rhythm Peeps work in, and each shift's start is also when sickness risk climbs. Workers who complete a full shift well-fed and close to home are less likely to fall sick the next time around. Strikes, which Dev Blog #23 confirmed last three shifts by default, block other Peeps and slow your throughput dramatically. When a strike begins, the game gives you a goal tied to the root cause; solving that goal ends the strike early.
Celebrations work in the opposite direction. When enough Peeps in a single location pass a high happiness threshold, a Fairground triggers a Celebration that grants production, movement, and sickness bonuses. Routing jobs so that workers cluster near a Fairground is a legitimate throughput strategy, since the bonuses are location-based.
If you want a deeper look at the resource side of the chain, the Beyond These Stars resources guide covers every verified material and where it comes from, which makes worker priorities easier to plan. Food is the engine of throughput. A Peep without a meal queued cannot sustain shift output, and a Kitchen without ingredients cannot produce the meals in the first place. The food chain in Beyond These Stars runs from raw ingredient through the Kitchen to your Peeps' stomachs, with Composting closing the loop on Food Waste.
The Food Chain and How to Feed Peeps
Step 1: Secure Raw Ingredients
The verified food-relevant resources are Water, top soil, potatoes, Sheep, Cows, and the generic "ingredients" the Kitchen turns into soup. The Pasture produces Wool and can be paired with Cotton seeds; it does not directly feed Peeps, so do not confuse the Pasture with a food source. Food is built from a Kitchen combining the right raw inputs — the developer has not published the exact recipes, so the safest plan is to keep a buffer of multiple ingredient types in storage.
Step 2: Staff the Kitchen Early
The Kitchen should be one of the first three buildings your new settlement completes after the Home Spaceship. The reason is simple: Peeps arriving on the Settlement Ship arrive hungry, and the Home Spaceship alone cannot feed a growing population indefinitely. Assign a Peep to the Kitchen before you assign one to the Burner or Trawler.
| Kitchen Priority | Rationale |
|---|---|
| 1st priority building | Empty Kitchen means immediate starvation risk |
| Keep two ingredients in stock | Prevents total shutdown when one source is disrupted |
| Place near housing | Shorter walk means more meals per shift |
| Pair with Composting nearby | Food Waste routes into compost, not storage |
Step 3: Route Food Waste
Food Waste is not garbage. It is the input to Composting, which feeds back into top soil and the next planting cycle. The Beyond These Stars food waste and composting guide walks through the loop in detail, but the throughput takeaway is that ignoring Food Waste eventually blocks your fields and your Kitchen. A single Peep assigned to Composting keeps the loop alive.
Step 4: Monitor Peep Hunger
The game does not expose a single "hunger" meter the way it exposes population, but players report visible signals: Peeps gathering near the Kitchen, slower movement, and rising sickness in the colony. The fix is to read the settlement visually and reassign workers before the chain collapses. If your population is growing faster than the Kitchen can feed, the answer is almost always more Kitchen staffing, not more raw ingredients.
For the water side of the equation — top soil, irrigation, and how Water reaches your fields — the Beyond These Stars potato farming and water management guide covers the loop that ultimately feeds the Kitchen. Adjacency bonuses are the layout-side multiplier on throughput. The developer has not published the exact bonus formula, but Dev Blog material confirms that placing buildings close together improves both efficiency and travel time. Two practical layout patterns have emerged from the official beginner material and from developer commentary.
Layout and Adjacency for Maximum Output
Cluster Pattern
Group buildings by output: all food-related buildings (Pasture, Kitchen, Composting) in one zone, all clothing-related buildings (Weaver, Tailor) in another, and resource extraction (Trawler, Burner) on the edges. This keeps Peeps within each chain close together and minimizes the long walks that drain shift energy.
Spine Pattern
Run a central "spine" path down the middle of your settlement, with critical infrastructure (Kitchen, Apothecary, Composting) along the spine and resource extraction branching off to the sides. This works well for larger settlements where clusters start to feel cramped.
| Layout | Best For | Trade-Off |
|---|---|---|
| Cluster | Early game, small settlements | Easy to defend, but each cluster needs its own worker rotation |
| Spine | Mid to late game | Scales better, but spine path can become a strike bottleneck |
| Mixed | Sandbox Mode | Full control, but requires more planning |
Adjacency is also why the Fairground matters. Because Celebrations trigger on a location-based timer, parking a Fairground next to high-throughput infrastructure like the Kitchen or the Apothecary stacks a recurring happiness bonus on those buildings every shift, and over a 20–30 shift window that compounding output often outperforms a Fairground placed next to purely residential plots. In practice, players running a Spine layout will get the most throughput per tile by slotting the Fairground directly between the Kitchen and the Apothecary along the central path, so the bonus boost follows the same workers moving between the two.
When to Expand: Adding Workers and Buildings
Expansion should always lag one step behind worker availability. Adding a second Trawler when your current Trawler Peep is already idle just creates an empty building. Adding a Weaver when your Cotton source has not been unlocked wastes construction materials. A simple expansion rhythm keeps throughput from stalling:
-
Step 1: Confirm the current workforce is fully staffed and at high output.
-
Step 2: Identify the next bottleneck by watching for idle buildings or empty storage.
-
Step 3: Build or unlock only the building that resolves the bottleneck.
-
Step 4: Assign a worker, then return to Step 1.
This loop keeps the colony from over-building and gives you a stable platform for the late-game push into Advanced Goods, which is research-gated and pulls workers into entirely new chains. The Beyond These Stars advanced goods and mining guide covers the transition once you reach that point.
Expansion also requires settlers. The Settlement Ship brings new Peeps to a new planet, but the player does not build it — the developer handles that. Planning ahead so your Home Spaceship and Kitchen are ready for an incoming wave of settlers is part of the throughput calculation, not just the production calculation.
Managing Strikes, Sickness, and Other Throughput Drains
Every settlement eventually hits a throughput drain that is not a production problem at all. It is a happiness problem, a sickness problem, or a labor-availability problem, and these are exactly the soft caps that decide whether your Peeps meet their shift quotas or stall behind a blocking chain. Catching them early — before the Apothecary's healing and energy recovery load doubles, before signs show up at a worksite, before idle Peeps cluster around a high-demand building — keeps your job priority assignments and food chains actually moving instead of grinding to a halt for reasons the resource panel never flags.
| Drain | Early Signal | Mitigation |
|---|---|---|
| Strike | Peeps holding signs, blocking paths | Solve the goal tied to the root cause; first strike ends early once met |
| Sickness | Apothecary healing and energy recovery falling behind | Add Apothecary staff; check Kitchen and housing for energy issues |
| Mourning | Slowed Peeps after a death | Route workers around the mourning area; restore happiness over time |
| Cold or heat | Temperature drag on Kewa's happiness | Tailor Cold Weather or Warm Weather Clothing; manage galaxy temperature |
| Burnout | Peeps idle near high-demand buildings | Reroute workers; check for unseen strikes or sickness chains |
Dev Blog #29 also made a developer's joke that unhappy Kewa will "eat the planets you settled" — the developer explicitly added "okay no, I'm kidding, they won't do that" in the same post, so this is not a mechanic. Real galaxy temperature and biome health are tracked, and Dev Blog #29 confirmed that a hot galaxy drags Kewa's happiness down, eventually triggering emergency travel somewhere cold. Clothing and biome care are part of keeping that loop stable.
Strikes, specifically, are the most disruptive single event for throughput. A first strike lasts three shifts and the striking Peeps physically block other Peeps, which means even a perfectly staffed settlement grinds to a halt until the goal is met. Treat any demand from the workers as a real resource you must fulfill, not a flavor event.
Frequently Asked Questions
How do I assign jobs in Beyond These Stars?
Open a building's interface and assign an available Peep from the worker list. Children and Elders cannot be assigned, so only the working-age population is eligible. Reassignment is instant, which makes it easy to respond to bottlenecks as they appear.
What is the best worker priority early in the game?
Staff the Kitchen and Composting first, then the Cleaner or Apothecary, then extraction buildings like the Trawler. A fed, healthy workforce produces more than well-stocked storage with starving Peeps. This priority order is a direct answer to the question of how to feed Peeps without losing shift output.
How do I keep Peeps fed when ingredients run low?
Buffer two ingredient types in storage at all times and route Food Waste into Composting so top soil stays available. If one source collapses, the second source keeps the Kitchen running while you rebuild. Expansion that outruns ingredient supply is the most common cause of food crises in the first hours of a run.
What happens when a Peep goes on strike?
Striking Peeps hold signs and physically block other Peeps, which slows the entire settlement. The first strike lasts three shifts, and the game gives you a goal tied to the strike's root cause; meeting that goal ends the strike early. Plan worker priorities and food chain stability so the goal is reachable before the three-shift window closes.
Do I need the Pasture to feed Peeps?
The Pasture is a Wool producer, paired with Cotton seeds in the clothing chain, not a food facility, so it should not compete for early-game Peep labor against the Kitchen or Composting. Staff the Pasture only after ingredient supply for Food is fully stable, because redirecting even one worker to Wool output before the food chain is buffered risks triggering a strike goal tied to starvation. In practical terms, keep your Pasture unstaffed or minimally staffed during the first hours of a run, then expand it once Kitchen output and top soil reserves from Composting consistently exceed Peep consumption.